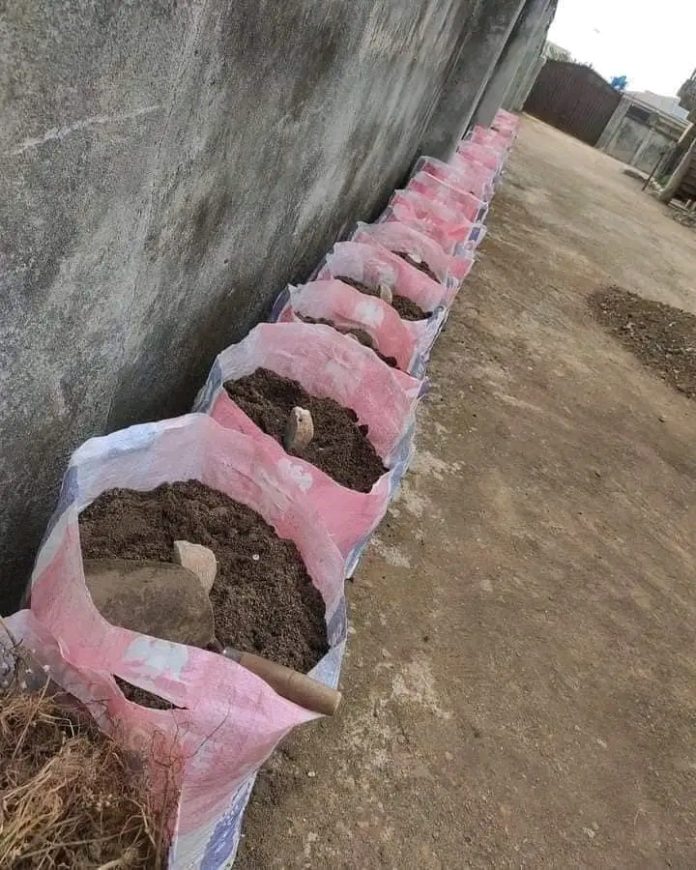
I saw this method of Yam Farming method recently on social media and because of the fact that knowledge is power, I had to share it here.
This method involves how you can grow yam from the comfort of your compound using these 6 steps:
Step 1 – Get cement sacks or rice sacks, the bigger the sacks the better.
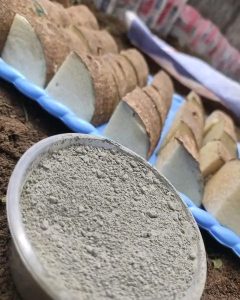
Step 2 – Get ash from burnt charcoal, What you see on that bowl is not cement, It is burnt charcoal ash.
Step 3 – Fill the sacks with healthy soil.
Step 4 – You either bury the yam heads or Cut your yam into small sizes, rub the ash on the piece, then bury deep in the sack filled with soil.
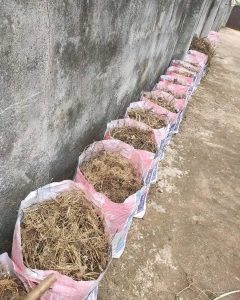
Step 5 – Place the sacks outside where it can access rain and sunlight.
Step 6 – Soon as it starts springing leaves attach a stick to it, so the leaves can climb.

Yam farming doesn’t have to be a distant dream or limited to rural areas. With this innovative method, you can cultivate yams right in your own backyard or even on your balcony. All you need are some basic materials and a little know-how, and you’ll be on your way to enjoying a bountiful harvest of this nutritious staple.
Full Explanation
Step 1 involves acquiring suitable sacks for planting. Cement sacks or rice sacks work well, providing ample space for the yam plants to grow and flourish. Remember, the larger the sacks, the better, as it allows for more room for the yams to spread their roots.
Step 2 is all about sourcing ash from burnt charcoal. This acts as a natural fertilizer, enriching the soil and providing essential nutrients for the yam plants to thrive. Simply gather the ash and prepare it for use in the planting process.
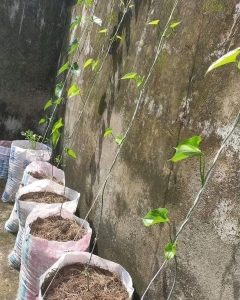
In Step 3, fill the sacks with healthy soil. Ensure that the soil is of good quality, rich in nutrients, and well-draining to support optimal yam growth. This sets the foundation for a successful yam farming venture.
Step 4 involves planting the yams in the prepared sacks. You can either bury yam heads or cut yams into small pieces, coat them with ash, and bury them deep in the soil-filled sacks. This encourages robust root development and ensures healthy growth.
Once planted, Step 5 requires placing the sacks in an outdoor location where they can receive ample sunlight and rainfall. This allows the yam plants to photosynthesize and absorb essential moisture for growth.
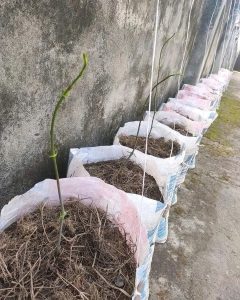
As the yam plants begin to sprout leaves, Step 6 involves providing support for their upward growth. Attach sticks to the sacks to create a trellis-like structure, allowing the leaves to climb and maximize sunlight exposure.
With patience and care, if you practice this simple farming step, you will soon witness your yam plants flourishing, promising a rewarding harvest of fresh, home-grown yams. Embrace the satisfaction of growing your own food and enjoy the nutritious bounty of your labor right at home! Please do well to drop a comment below thank you 🙏💕

